AppRiver ETP Setup and Configuration
Introduction
This guide covers the AppRiver Email Threat Protection setup/configuration process for Microsoft 365 and Google Workspace. This guide is to be followed from the top down.
Requirements
- Administrative access to AppRiver.
- Administrative access to customers Public DNS.
- Administrative access to customers Microsoft Office 365 or Google Workspace.
Create/Configure AppRiver Account
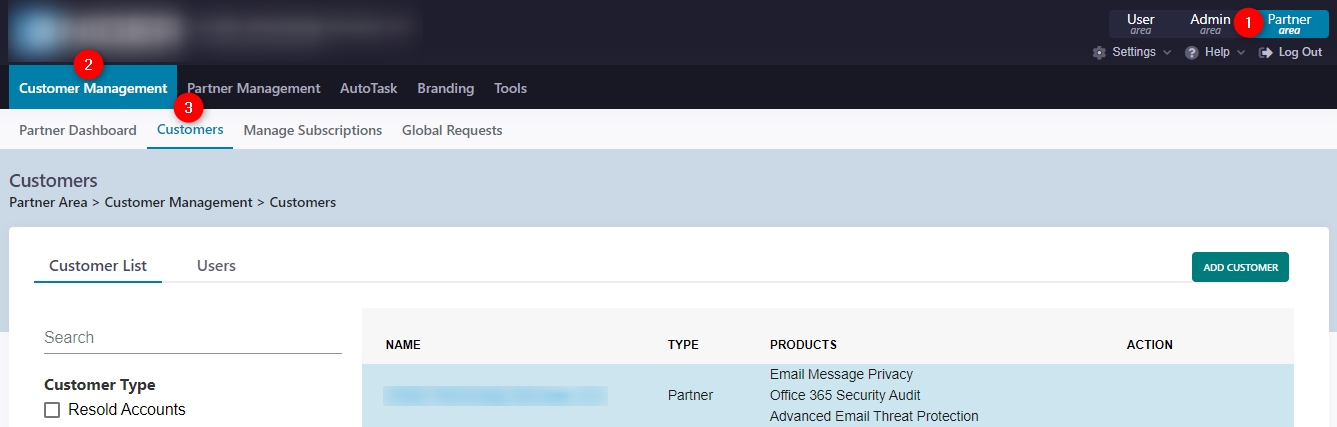
Login to the AppRiver Control Panel. Afterwards, navigate to Partner area ⮞ Customer Management ⮞ Customers.
You can now add the new customer or select an existing customer to edit their subscription under "Customer Subscription".
Configure Email Provider to Accept Emails from AppRiver
Microsoft Office 365
Guide: How do I allow inbound mail from Email Threat Protection in Office 365?
The guide contains important IP addresses that are used for whitelisting. These IP addresses can also be used for the Google Workspace configuration setup.
DO NOT USE the Microsoft Office 365 Partner Admin Portal. The account used MUST be the Global Admin user.
Google Workspace
Guide: AppRiver ETP Google Workspace Configuration
Create/Configure AppRiver User Account
After Microsoft Office 365 is set to accept emails from the respective email provider, create the user accounts that AppRiver will be using to route emails to.
Alternatively, if there are many users that need to be added, a CSV file can be requested via AppRiver chat and/or support ticket. The CSV file can then be populated with user information and sent back to AppRiver support for bulk user account creation.
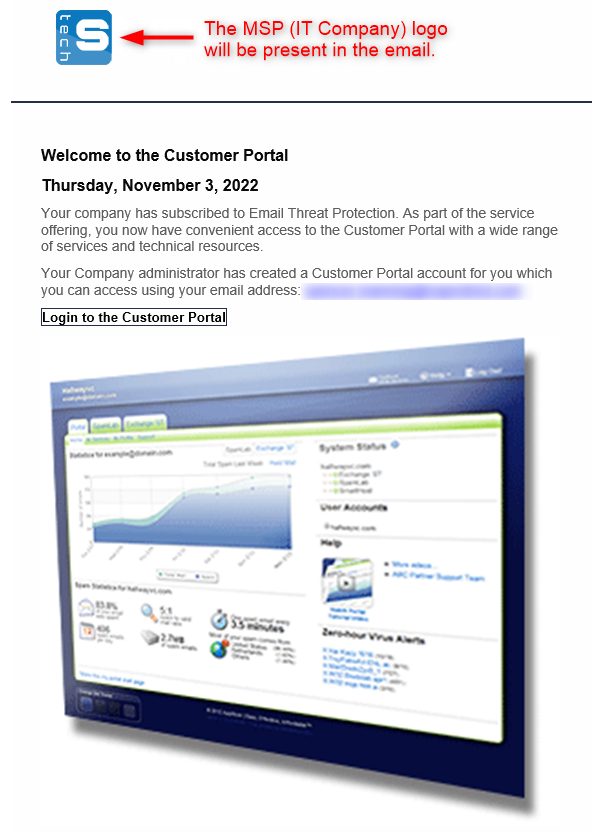
After an AppRiver user account is created, AppRiver will send the user a "Welcome" message with further account instructions. Depending on the customer, it may be best to notify these users ahead of time or at the start of the ETP project that they will be receiving these emails.
The following screenshot is what AppRiver will send to the user after their AppRiver user account is created:
Set Up AppRiver Impersonation Protection
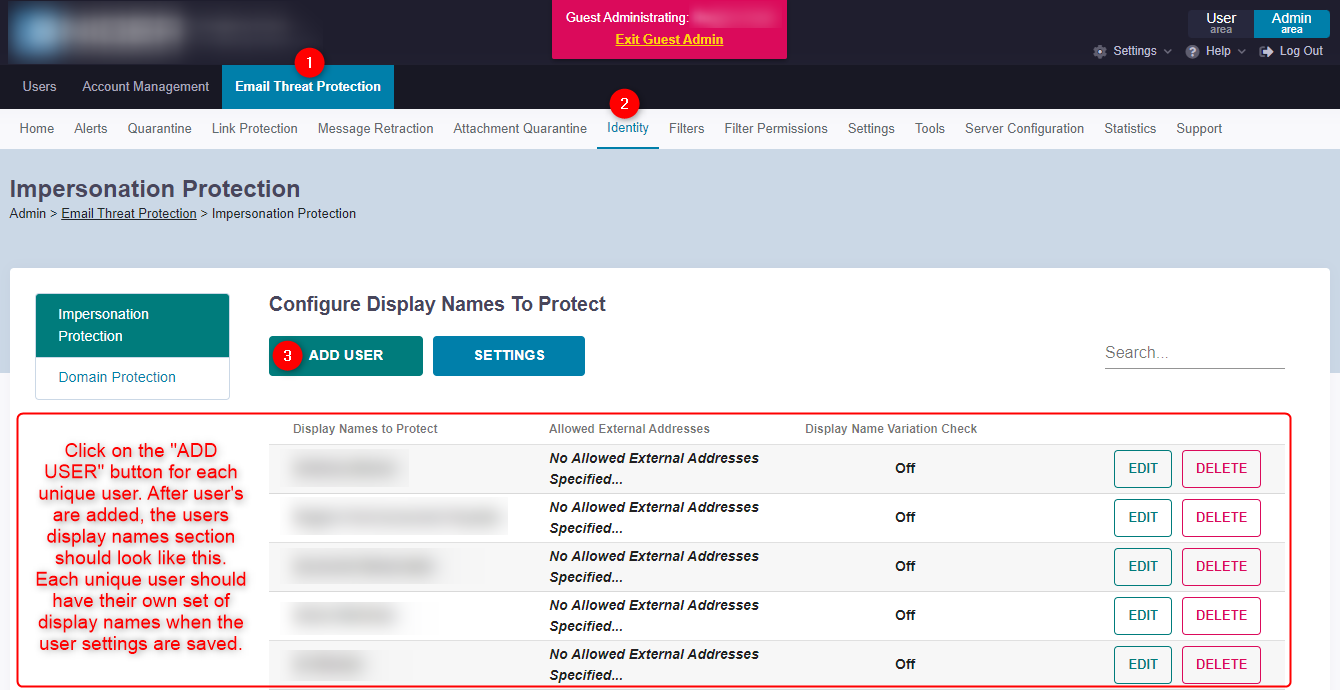
While still in the Guest Admin area, add a user to the Impersonation Protection page by navigating to Email Threat Protection ⮞ Identity ⮞ and click on the ADD USER button.
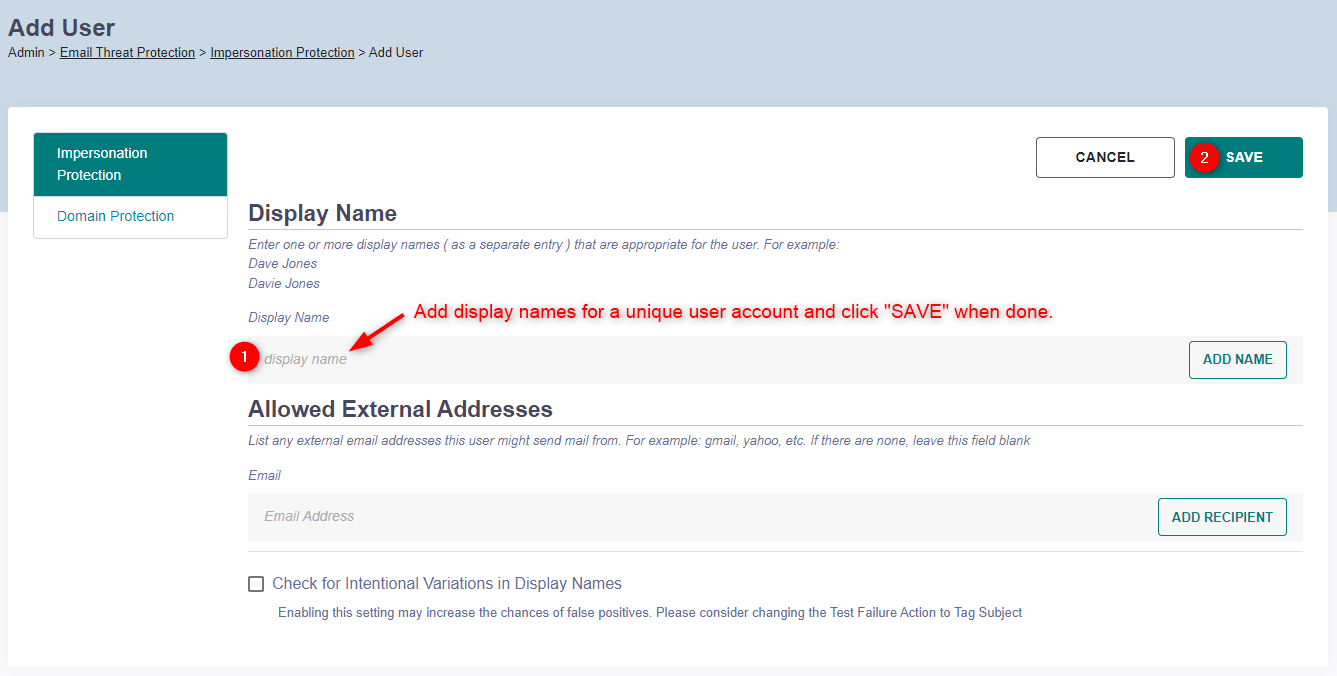
After clicking the ADD USER button, enter the display name(s) for a unique user and click on the SAVE button. Repeat this process for each unique user account.
Update MX Records
While still in the Guest Admin area, navigate to Email Threat Protection ⮞ Home ⮞ and click on the MX Records button.
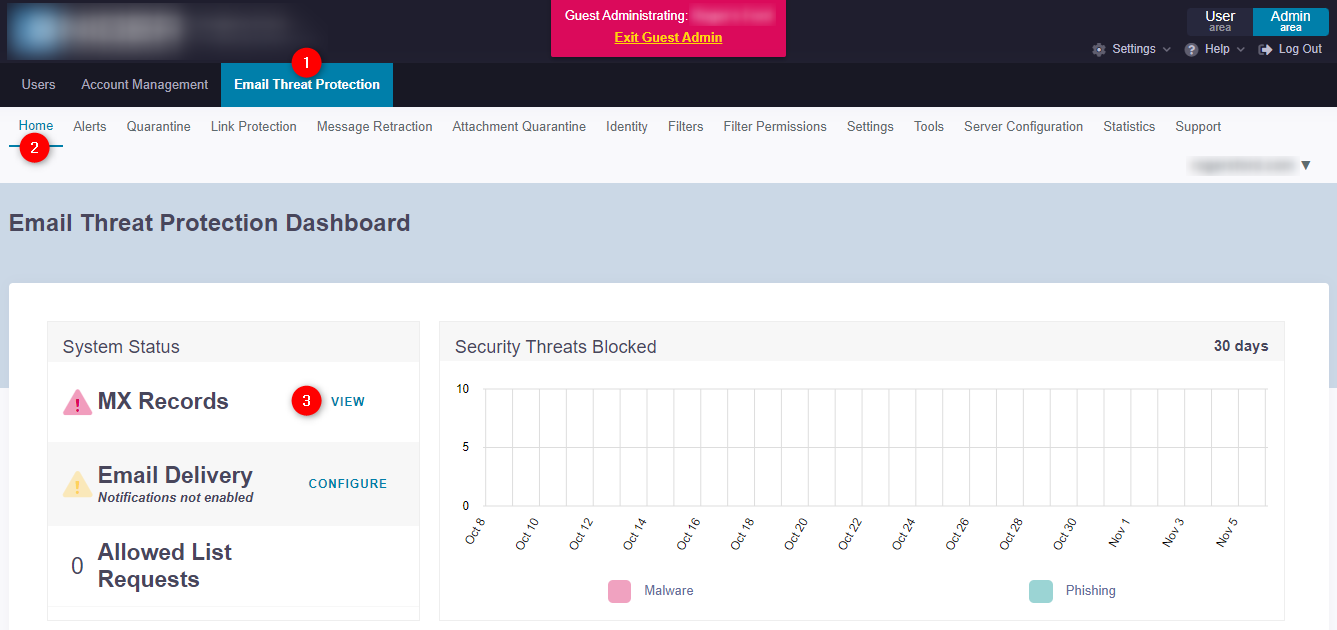
Under the Email Threat Protection Alerts page, select MX Records on the left, which should now show you the following MX record information, that will need to be updated on the customer's public DNS server.
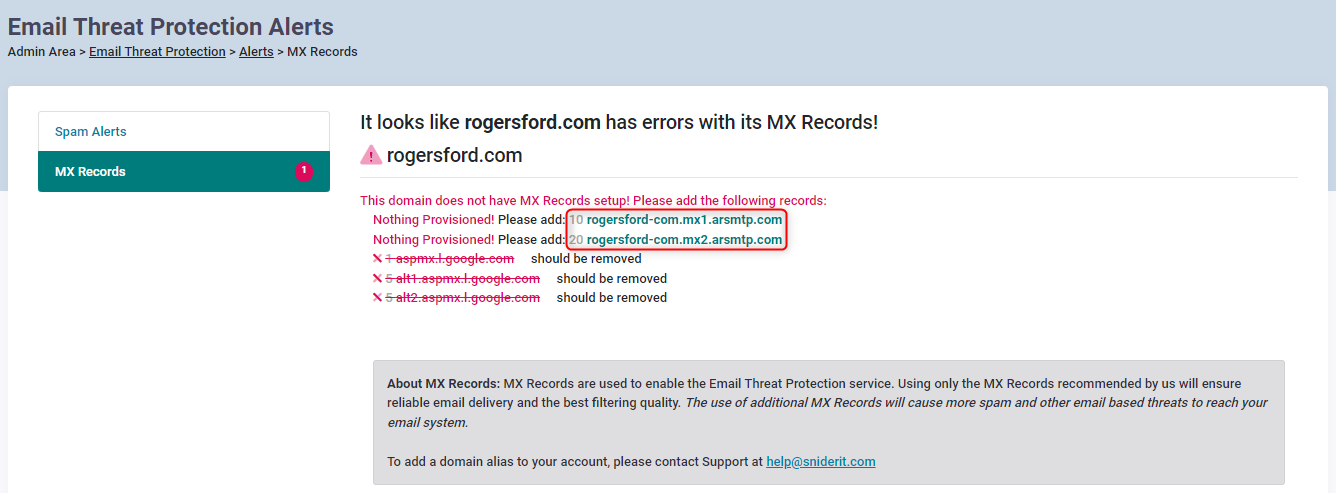
Login to the customers public DNS server and update the MX records accordingly.
It would be wise to backup the current DNS configuration prior to making any changes to the public DNS. If a backup configuration cannot be created, notate the configuration in the event that changes need to be reverted.
Monitor AppRiver Email Flow and Quarantine
Monitor AppRiver Email flow and quarantines for the next 2-4 weeks. This includes scheduling and verifying Email flow and quarantines multiple times through out the day. This is to ensure that legitimate emails are not flagged as spam etc.
Sources
KB Change/Issue Log
yyyy/mm/dd - Title
Issue
N/A
Solution
N/A
KB Meta
| Page Includes |